Containers have revolutionized application development and deployment by offering consistency and portability across different environments. However, container image size and security are two crucial factors when building production-ready applications. This is where multi-stage builds in Docker come in.
In this article, we’ll explore how multi-stage builds optimize container images, demonstrate their implementation using a Golang calculator application, and discuss the benefits of distroless images and scratch as a base image.
Understanding Multi-Stage Builds in Docker
What is a Multi-Stage Build?
A multi-stage build in Docker allows you to create a lightweight and optimized final image by breaking the build process into multiple stages. Each stage can use a different base image, and only essential artifacts are copied to the final stage, eliminating unnecessary dependencies.
Why Use Multi-Stage Builds?
Multi-stage builds offer several advantages over traditional single-stage builds:
✅ Smaller Image Size — Reduces the final image size by removing build-time dependencies.
✅ Improved Security — A leaner image means a smaller attack surface with fewer vulnerabilities.
✅ Performance Optimization — Optimized images load faster and improve container runtime performance.
✅ Better Layer Caching — Allows caching of build dependencies, reducing rebuild times.
GitHub Repository
You can find all the code examples used in this guide in my GitHub repository:
Implementing a Multi-Stage Build in Docker
Let’s take an example of a simple Golang calculator application and containerize it using a multi-stage Docker build.
Step 1: The Build Stage
In the first stage, we use Ubuntu as a base image to set up the Go build environment and compile the application.
###########################################
# BUILD STAGE
###########################################

FROM ubuntu AS build

RUN apt-get update && apt-get install -y golang-go

ENV GO111MODULE=off

COPY . .

RUN CGO_ENABLED=0 go build -o /app .
What Happens in This Stage?
1. Base Image — We use ubuntu as the base image, as it provides flexibility to install build dependencies.
2. Install Golang — Installs Go (golang-go) to compile our application.
3. Copy Source Code — Copies the project files from the host system into the container.
4. Build the Application — Compiles the Go application and generates a binary file (/app).
🔹 Why use Ubuntu?
Using ubuntu in the build stage provides better control over dependencies, making debugging and testing easier.
Step 2: The Final Stage (Creating a Minimal Image)
Now that we have a compiled binary (/app), we use scratch as our base image for the final stage.
############################################
# FINAL STAGE
############################################

FROM scratch

# Copy only the compiled binary from the build stage
COPY --from=build /app /app

# Set the entrypoint for the container
ENTRYPOINT ["/app"]
What Happens in This Stage?
1. Uses scratch as Base Image — The most minimal base image possible (essentially an empty image).
2. Copies Only the Compiled Binary — This eliminates unnecessary files, libraries, and OS components.
3. Defines an Entrypoint — The container starts by executing /app.
🔹 Why use scratch?
• It contains no OS files — only your application binary, reducing attack surfaces.
• Since Go applications compile into a single executable, they don’t require additional dependencies.
Distroless Images: A Step Beyond
Distroless images take minimalism a step further. Unlike traditional OS-based images (Ubuntu, Alpine), distroless images contain only the runtime dependencies needed by the application.
Why Use Distroless Images?
✅ Enhanced Security — No package manager, shell, or extra utilities that could be exploited.
✅ Smaller Footprint — Reduces storage, network transfer, and boot time.
✅ Less Maintenance — Fewer components mean fewer updates and vulnerabilities.
🔹 scratch is a form of a distroless image because it contains nothing but your application.
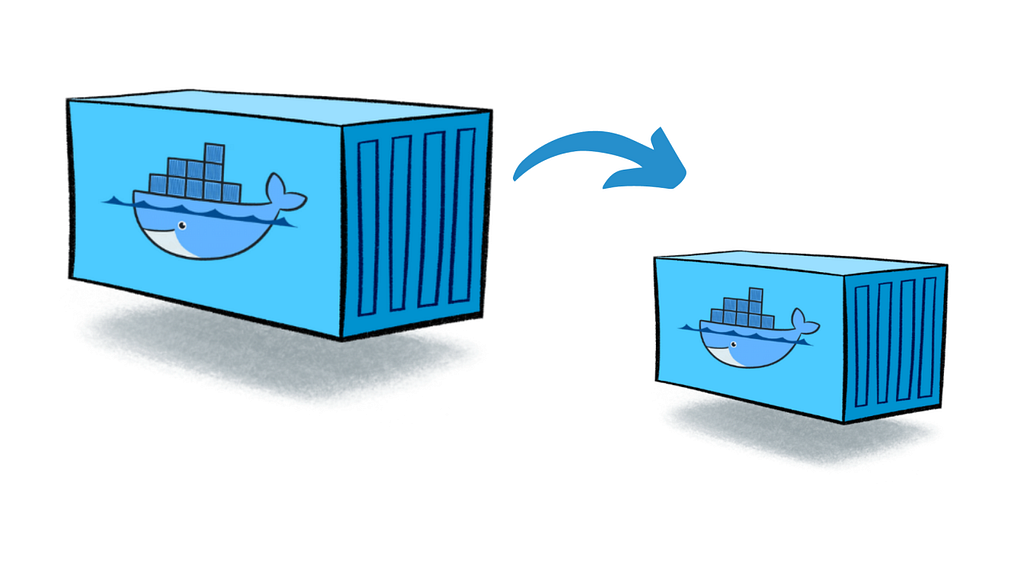
Comparing Image Sizes: Single vs. Multi-Stage Builds
One of the key benefits of multi-stage builds is the significant reduction in image size.
The difference in image size between the single-stage and multi-stage builds is significant. The single-stage build of the Golang calculator application (simplecalculator) has an image size of 650MB, whereas the multi-stage build (simplecalculator-multi) reduces the image size to just 6.49MB. This dramatic reduction in size is one of the key benefits of using multi-stage builds, making the container much lighter and faster to deploy.
By stripping away unnecessary dependencies, the multi-stage build reduces image size from 650MB to just 6.49MB — a 99% reduction! 🚀
Building and Running the Multi-Stage Docker Image
Now, let’s build and run our optimized Docker image.
Step 1: Build the Image
Run the following command to build the optimized image:
docker build -t golang-calculator .
Step 2: Run the Container
To run the lightweight containerized application:
docker run golang-calculator
Since we used scratch as the final base image, the container starts with minimal overhead, making it highly efficient.
Key Takeaways
• Multi-stage builds help create smaller, more secure Docker images by separating the build and runtime environments.
• Using scratch or distroless images minimizes dependencies, improving security and performance.
• The image size reduction is drastic, making it ideal for production environments.
• Faster builds and deployments lead to improved DevOps workflows.
By applying multi-stage builds, you can enhance security, optimize resource usage, and speed up deployments — critical aspects for any DevOps and Cloud Engineering workflow.
Further Reading
📌 Docker Multi-Stage Builds Documentation
🚀 Let’s Connect!
If you found this guide helpful, follow me for more DevOps and Cloud Engineering content:
🔗 GitHub → github.com/Dhanika-Kumarasiri
🔗 Medium → medium.com/@dhanika-kumarasiri
Have questions? Drop them in the comments! Let’s automate AWS the smart way! 🚀